

Octolooks
We’ve put together predefined templates and what you need to know to automatically customize and fix layout during the data scraping process.
Table of contents
You can take the content of the source site to your own site as it is with its raw form or if you wish, you can have a fixed layout with the manual changes that you will make later. Although it is easy to make manual adjustments to put the captured contents in a fixed layout; When the number of content increases and reaches over a certain number, it increases your work load and causes you to lose time. To avoid this situation and make the process fully automated, you can take advantage of the templates that make Octolooks Scrapes one of the most advanced WordPress scraper plugins, allowing you to automatically apply the changes you want on the content to be scraped with one time only definitions in advance. The steps you need to follow to use the template feature for the “Title”, “content”, “excerpt”, “featured image”, and “custom fields” fields are as follows.
- Activate the “Enable template” option under the field where you want to define the template.
- In the “Template” field that appears, define a value consisting of text and template tags.
- New posts will be created in a fixed layout in accordance with the defined template.
For example; You can scrape a article named “Hello, World!” on the source site with the value “[scrape_value] posted on Octolooks” on title template to your website with “Hello, World! posted on Octolooks” title. With this defined title template; The titles of the dynamic text in the source site will be combined with the static text we define and will determine the titles of the new posts.

Template tags
The tags in “shortcode” format that contain dynamic data in the source site and the usage details of these tags are as follows, which you can use as they are within the template or by combining them with static text. To add these tags to your template, simply click on them and define the value if necessary. You can specify the position you want to add before clicking on the tag by moving the mouse cursor to that field within the template, or you can change its position with the cut and paste method after clicking.
- Value: It is the tag that contains the data on the source site matches with the XPath defined in the “Value” field. It is used in [scrape_value] format in “Title”, “excerpt”, “featured image” and “custom fields” fields.
- Date: It is the tag that contains the date and time in “YYYY-MM-DD HH: MM: SS” format. It is used in [scrape_date] format in “Title”, “content”, “excerpt”, “featured image” and “custom fields” fields.
- Custom field: It is the tag that contains the data in the custom field whose value is defined after the template and find & replace operations are applied. It is used in the format [scrape_meta name = “Enter name here”] in the fields “Title”, “content”, “excerpt”, “featured image” and “custom fields”.
- Source URL: It is the tag that contains the web address of the source site or the detail page which content is scraped from according to the selected task type. It is used in [scrape_url] format in “Title”, “content”, “excerpt”, “featured image” and “custom fields” fields.
- Title: It is the tag that contains the title of the created post. It is only used in the [scrape_title] format in the “content” field.
- Content: It is the tag that contains the data in the source site automatically detected or matches with the XPath defined in the “value” field. It is only used in [scrape_content] format in the “content” field.
- Categories: If defined; it is the tag that contains the categories of the created post with a comma between them. It is only used in [scrape_categories] format in the “content” field.
- Tags: If defined; it is the tag that contains the tags of the created post with a comma between them. It is only used in [scrape_tags] format in the “content” field.
- Featured image: If defined; it is the tag that contains the featured image of the created post. It is only used in [scrape_thumbnail] format in the “content” field.
- Gallery: If defined; it is the tag that contains the images in the content field of the created post as a gallery. It is only used in [scrape_gallery] format in the “content” field.
- Embed: If one of from the supported oEmbed services; it is the tag that translates the defined web address into embedding code. It is only used in the [embed][scrape_url][/embed] format in the “content” field.
- Calculate: It is the tag that contains the result of the mathematical operations defined inside. It is only used in the calc(Enter calculation here) format in the custom field.
Usage examples
Back linking to the source site
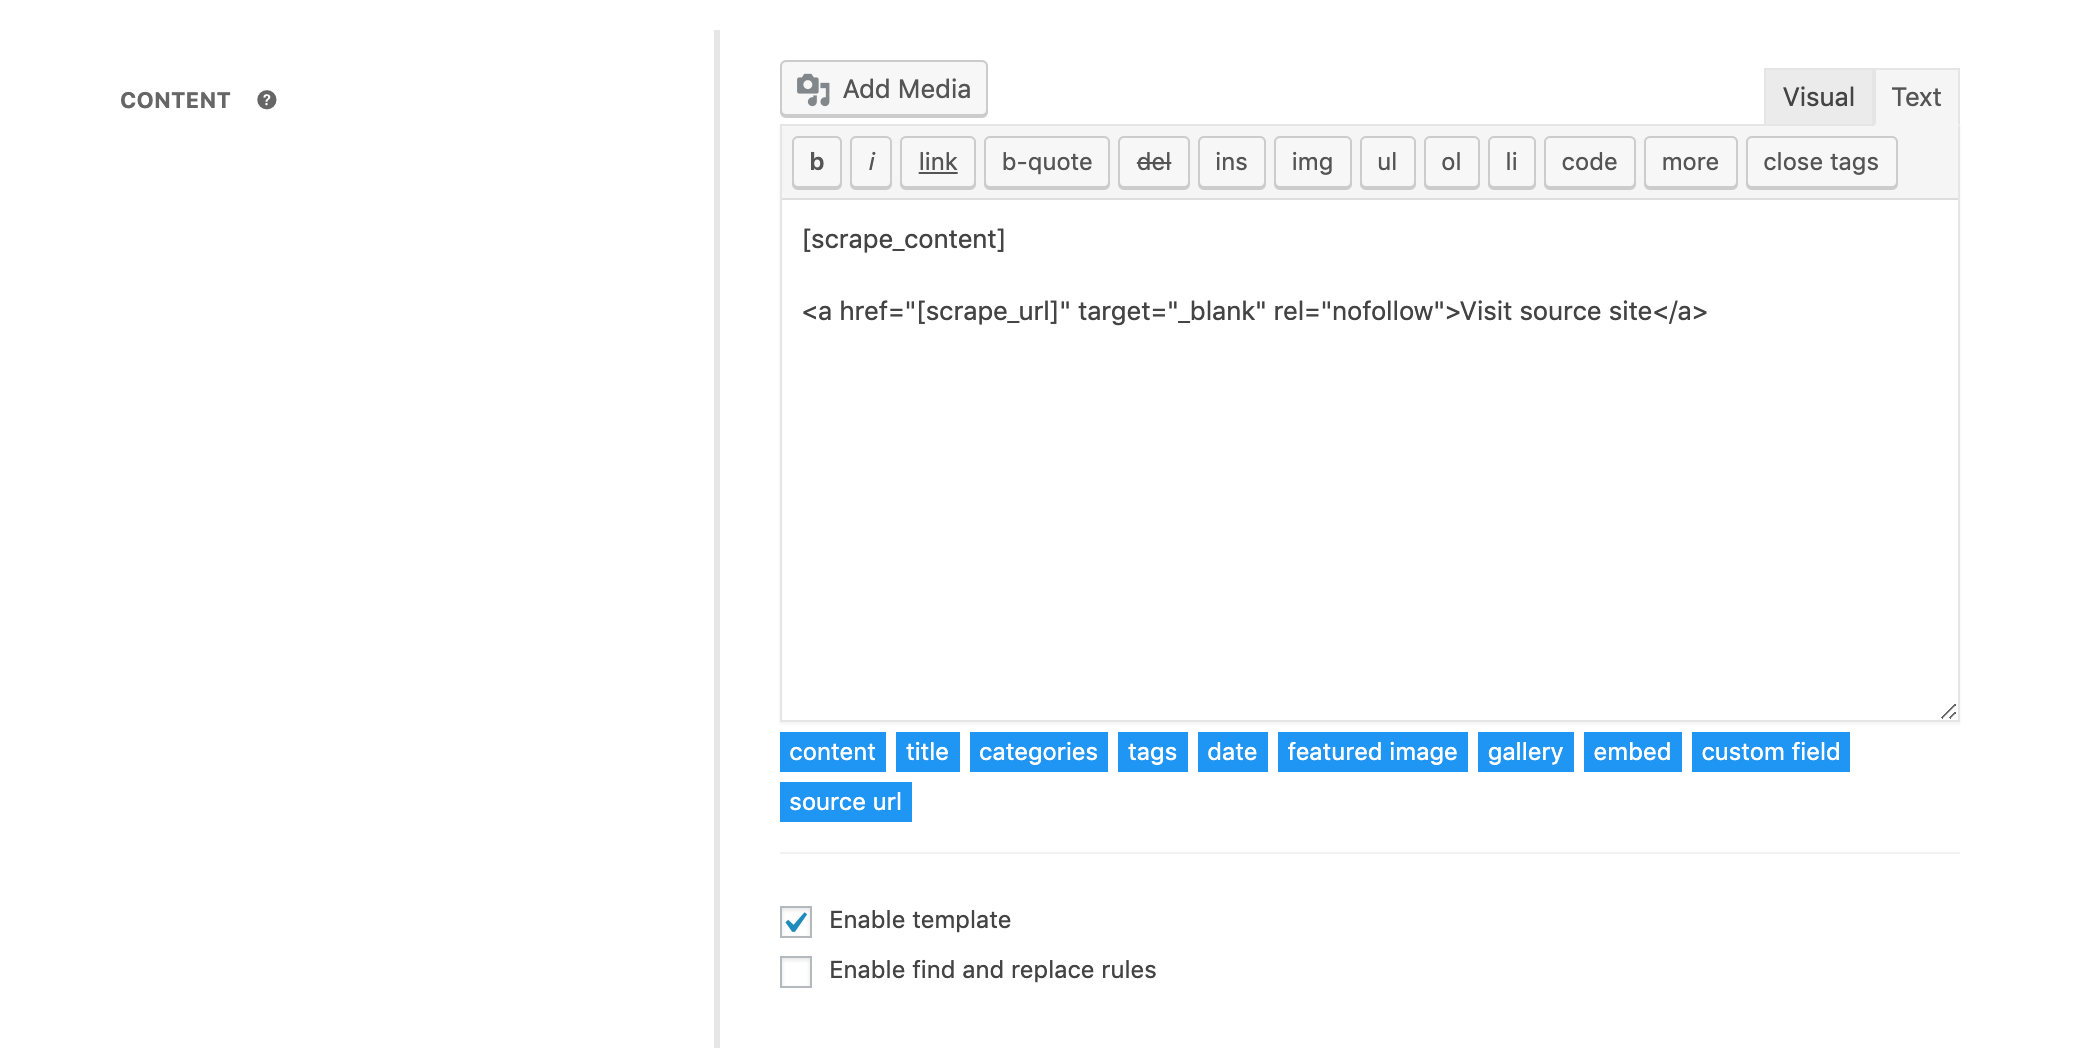
With the template you will define in the content field, you can link back to the source site itself or the detail pages from which the content is scraped according to the selected task type. The steps you need to follow to do this are as follows.
- Activate the “Enable template” option below the content field.
-
While the “Text” tab is active in the “Template” field that appears, define the following value by updating it to suit your needs.
                [scrape_content]

                <a href="[scrape_url]" target="_blank" rel="nofollow">Visit source site</a>
The new posts will consist of the content scraped with the [scrape_content] tag at top and the linking element with [scrape_url] tag to redirect to the address of source site at the bottom, in accordance with this defined template. Defining “target” attribute will open link it on a new page, “rel” definition will make sure that the link will not be followed by search engines. You can update these definitions, including the text “Visit source site”, to suit your needs.
Automatic redirection to source site
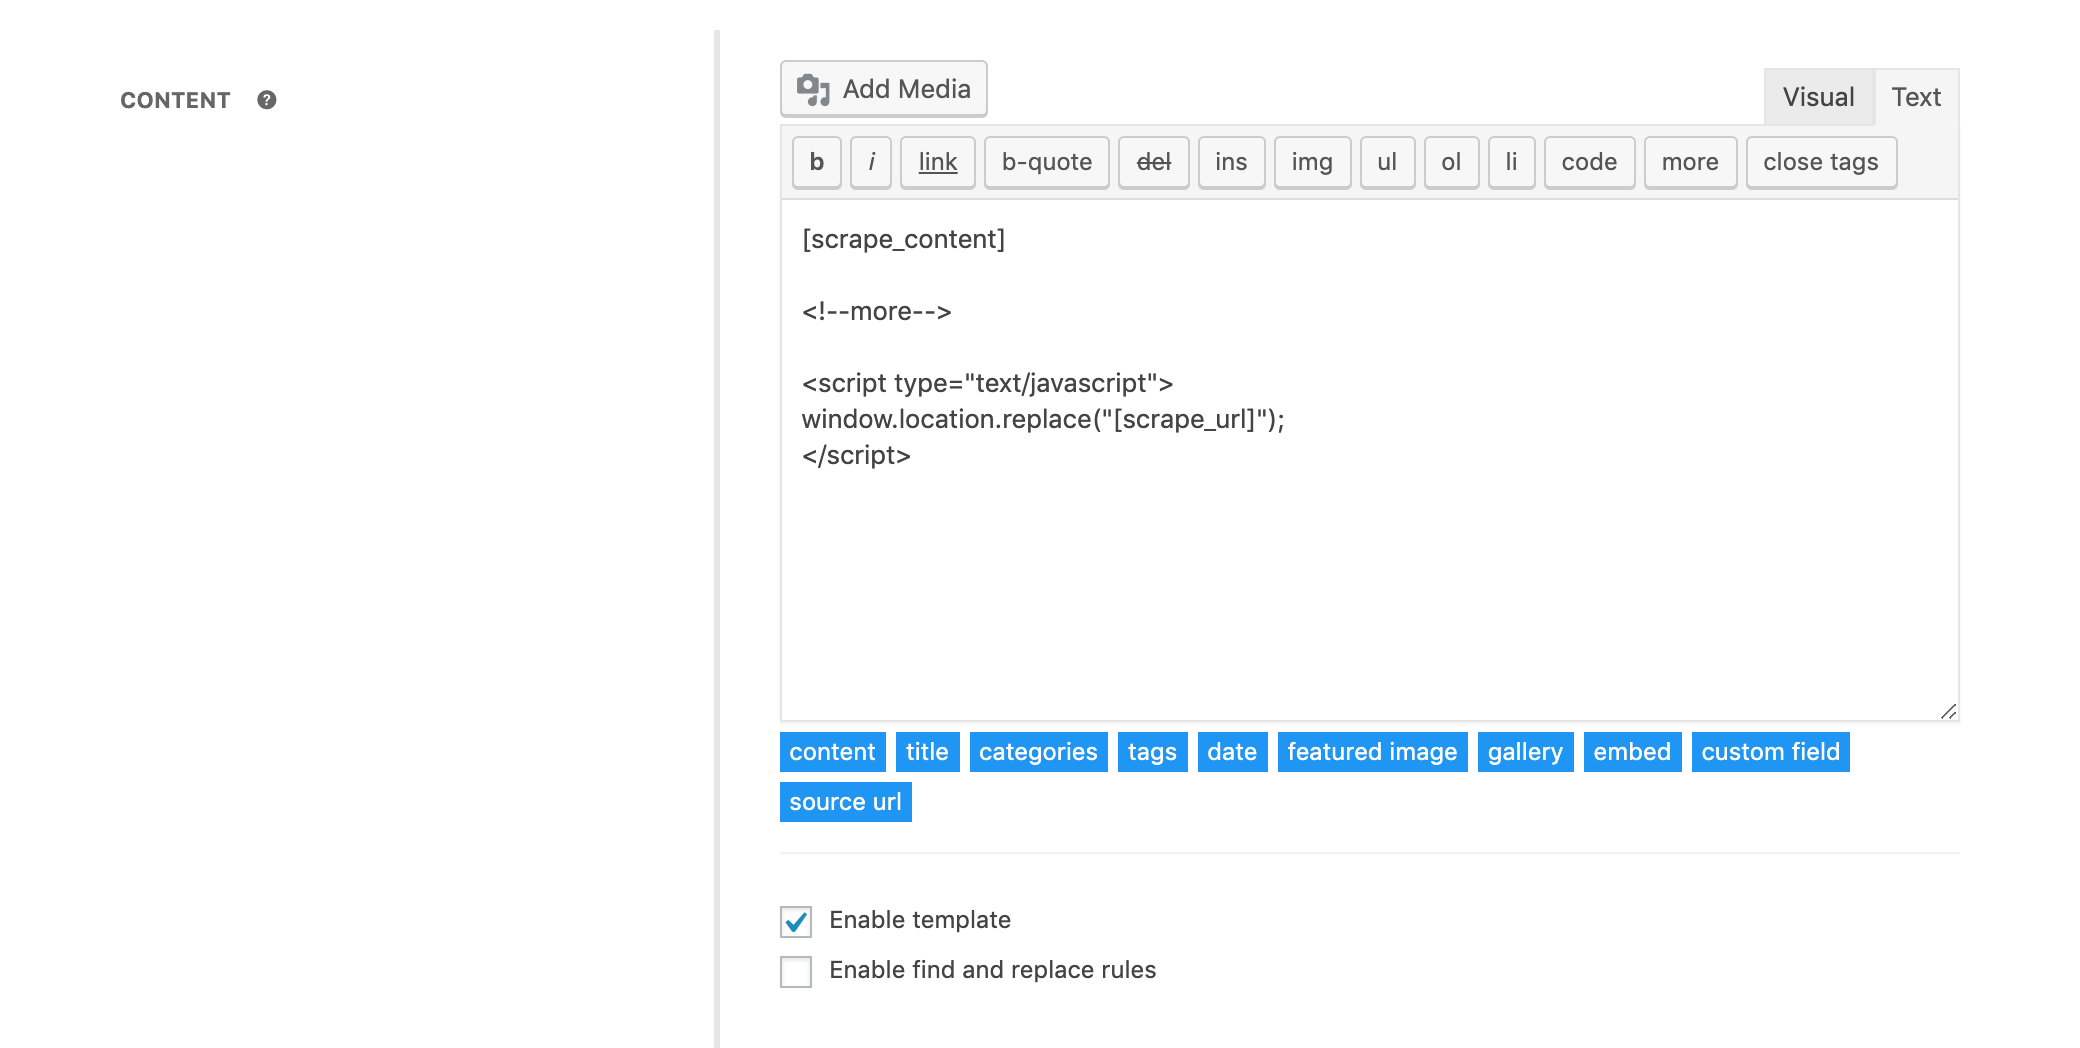
You can redirect to the source site itself or the detail pages from which the content is scraped when you click on a link that leads from the listing pages of your site to the detail page with the template you will define in the content field, according to the selected task type. The steps you need to follow to do this are as follows.
- Activate the “Enable template” option below the content field.
-
While the “Text” tab is active in the “Template” field that appears, define the following value by updating it to suit your needs.
                <script type="text/javascript">

                window.location.replace("[scrape_url]");

                </script>
The new posts will be created in accordance with this template, directing to the address of the [scrape_url] tag when visited. The summary content (excerpt) on your site’s listing page is normally generated automatically on the data defined in the content field. However, since there will only be redirecting JavaScript code in the content area; Depending on the theme you use to display summary content on the listing page, you can match the “Excerpt” field to a data on the source site by selecting “Select from source” option or define the same data before the <!–more–> tag in the template.
Adding parameters to links
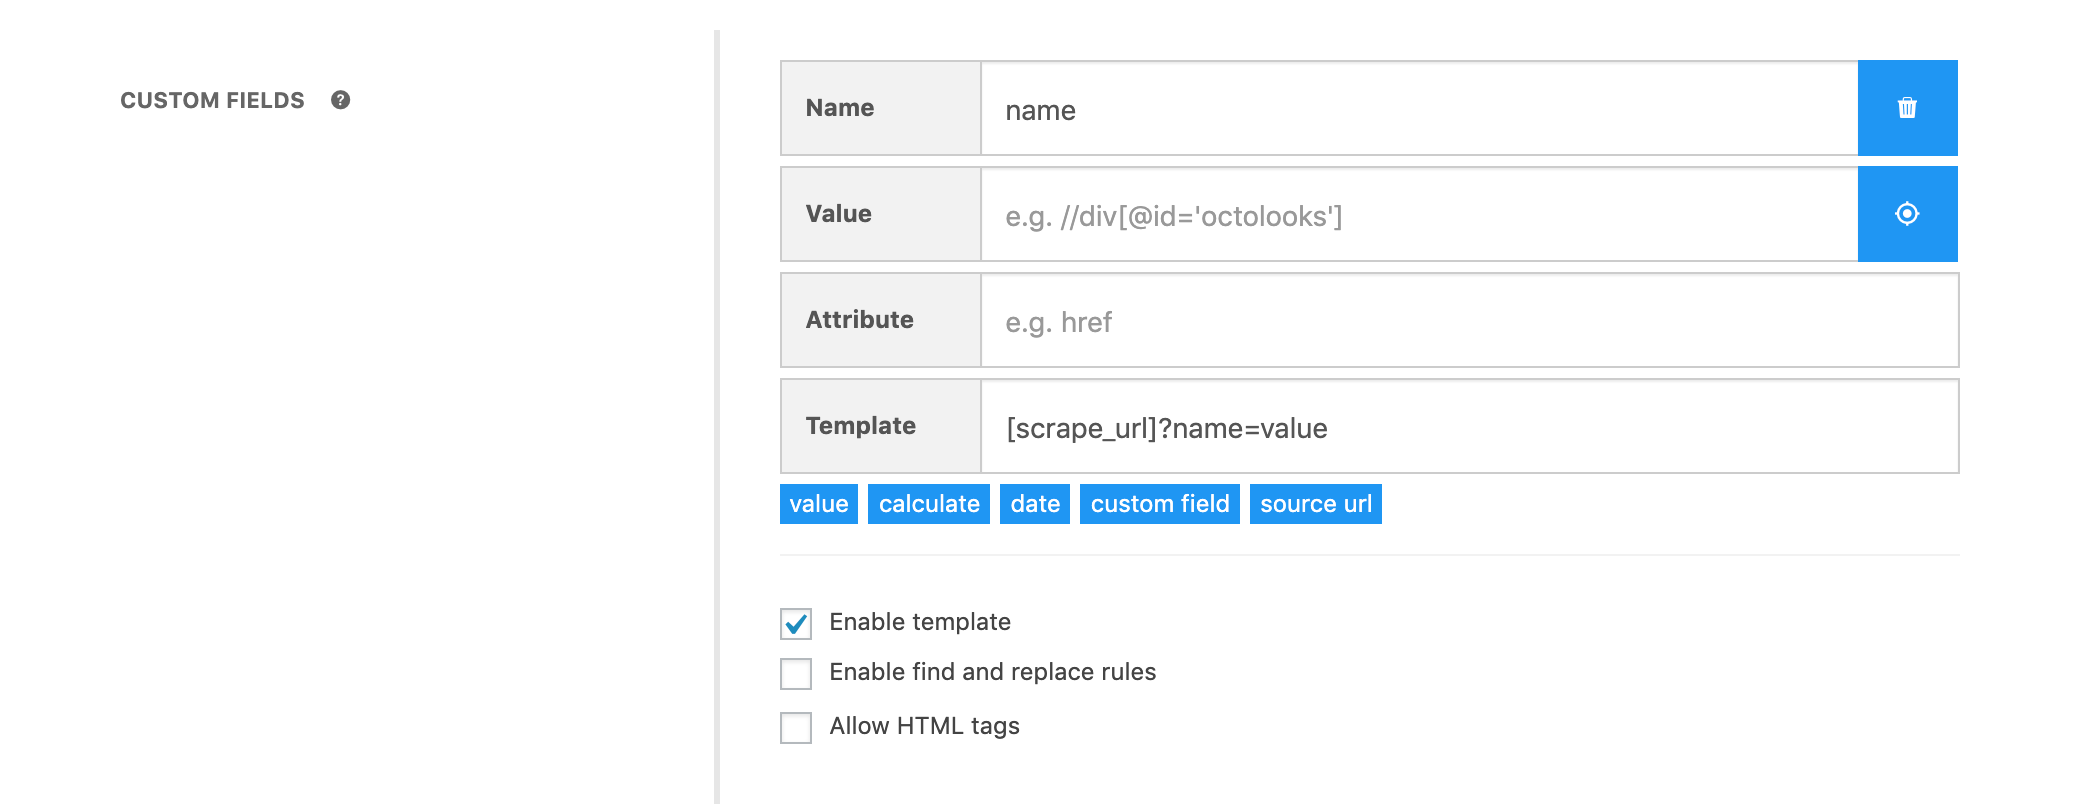
You can add parameters when linking to the source site itself or the detail pages with the template you will define in custom fields, from which the content is scraped according to the selected task type. The steps you need to follow to do this are as follows.
- Activate the “Enable template” option below the particular custom field.
-
In the “Template” field that appears, define the following value by updating the “name” and “value” variables to suit your needs.
[scrape_url]?name=value
In accordance with this defined template, the new posts will be created with address of the [scrape_url] tag and the custom field consisting of the parameter value in the format “?name = value” appended to it. With the name definition you will make to the custom fields during the task creation phase, those posts can be created with compliance to your other themes and plugins or to be used within the other fields that support template.
Combining multiple content
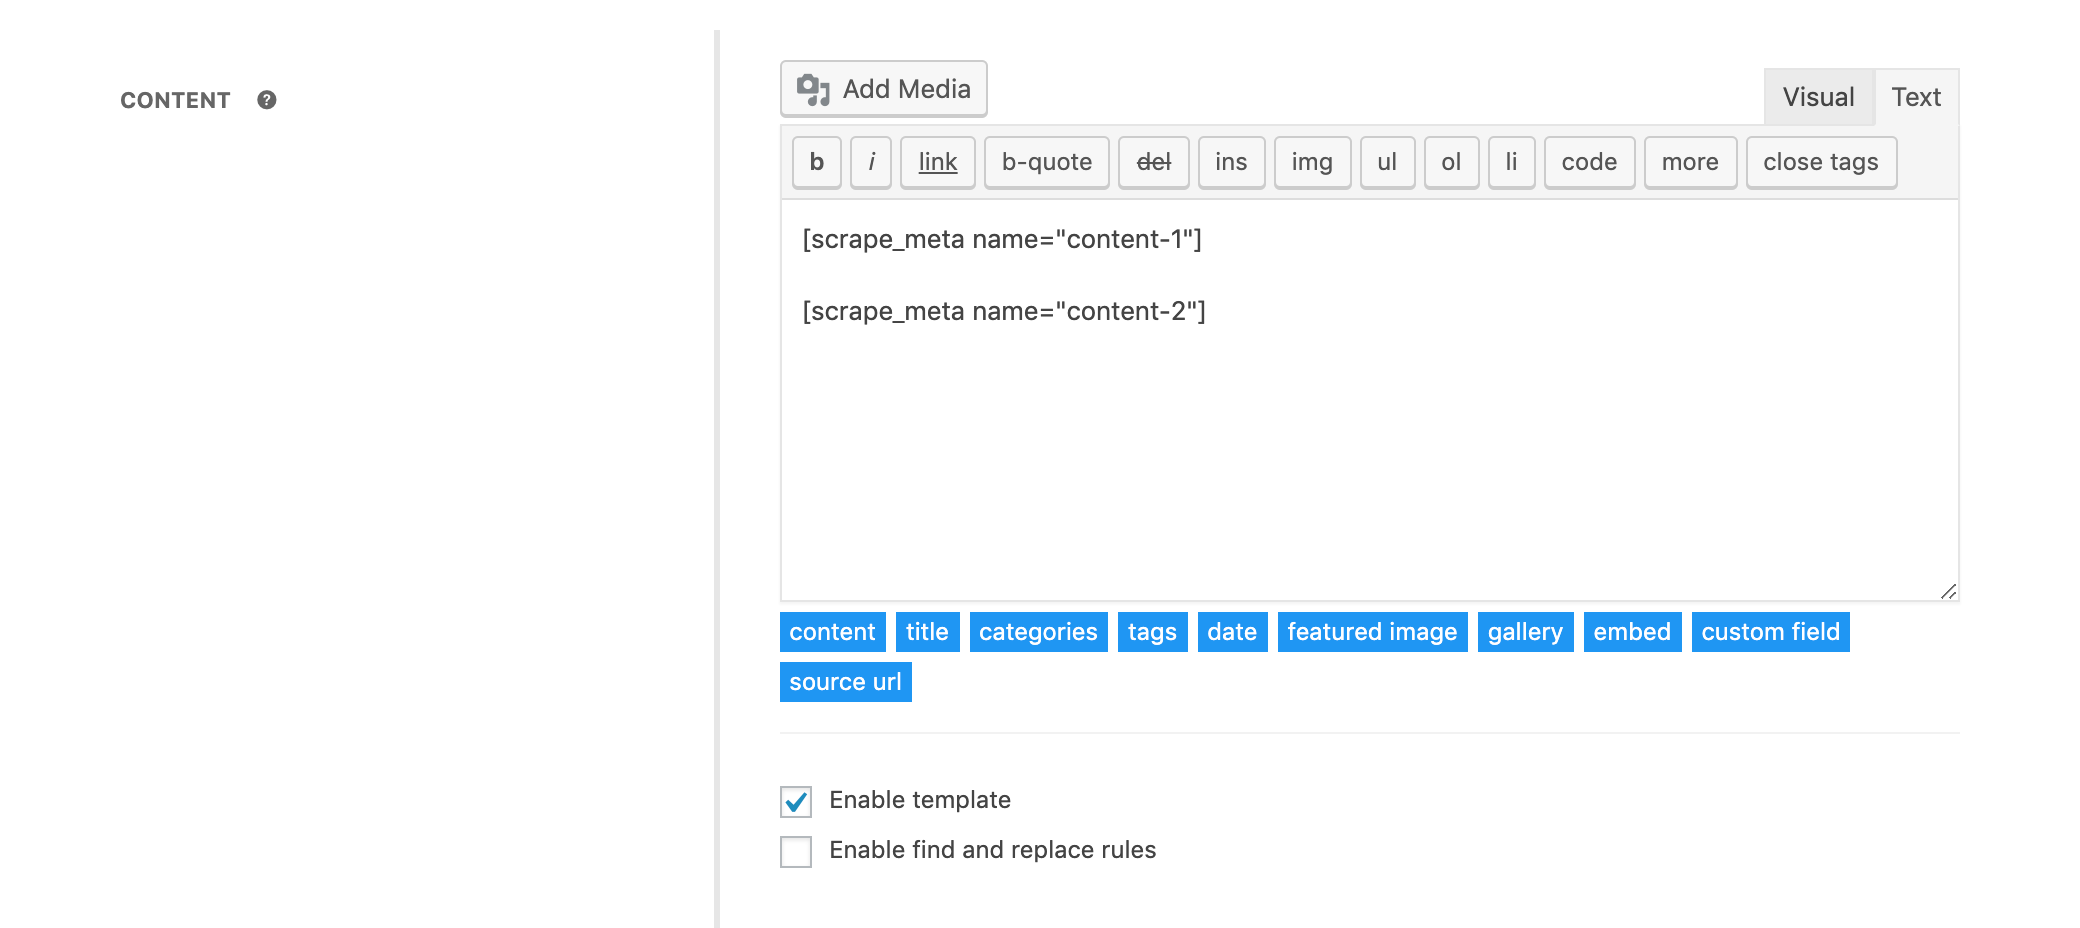
With the template you define in the content field, you can combine multiple content from the same page on the source site, but in different sections. The steps you need to follow to do this are as follows.
- Create custom fields named “content-1” and “content-2” that contain related content.
- Activate the “Enable template” option below the content field.
-
While the “Text” tab is active in the “Template” field that appears, define the following value.
                [scrape_meta name="content-1"]

                [scrape_meta name="content-2"]
In accordance with this template, new posts will be created with the content defined in the top named “content-1” and the content defined in the custom field named “content-2” bottom. You can change the names of custom fields to suit your needs and increase the number of custom fields for different sections to combine in your template. By default “Allow HTML tags” option is not activated, the content is retrieved as plain text in custom fields, in case of content combination you will possibly need HTML tags option is checked.
Adding a gallery to content
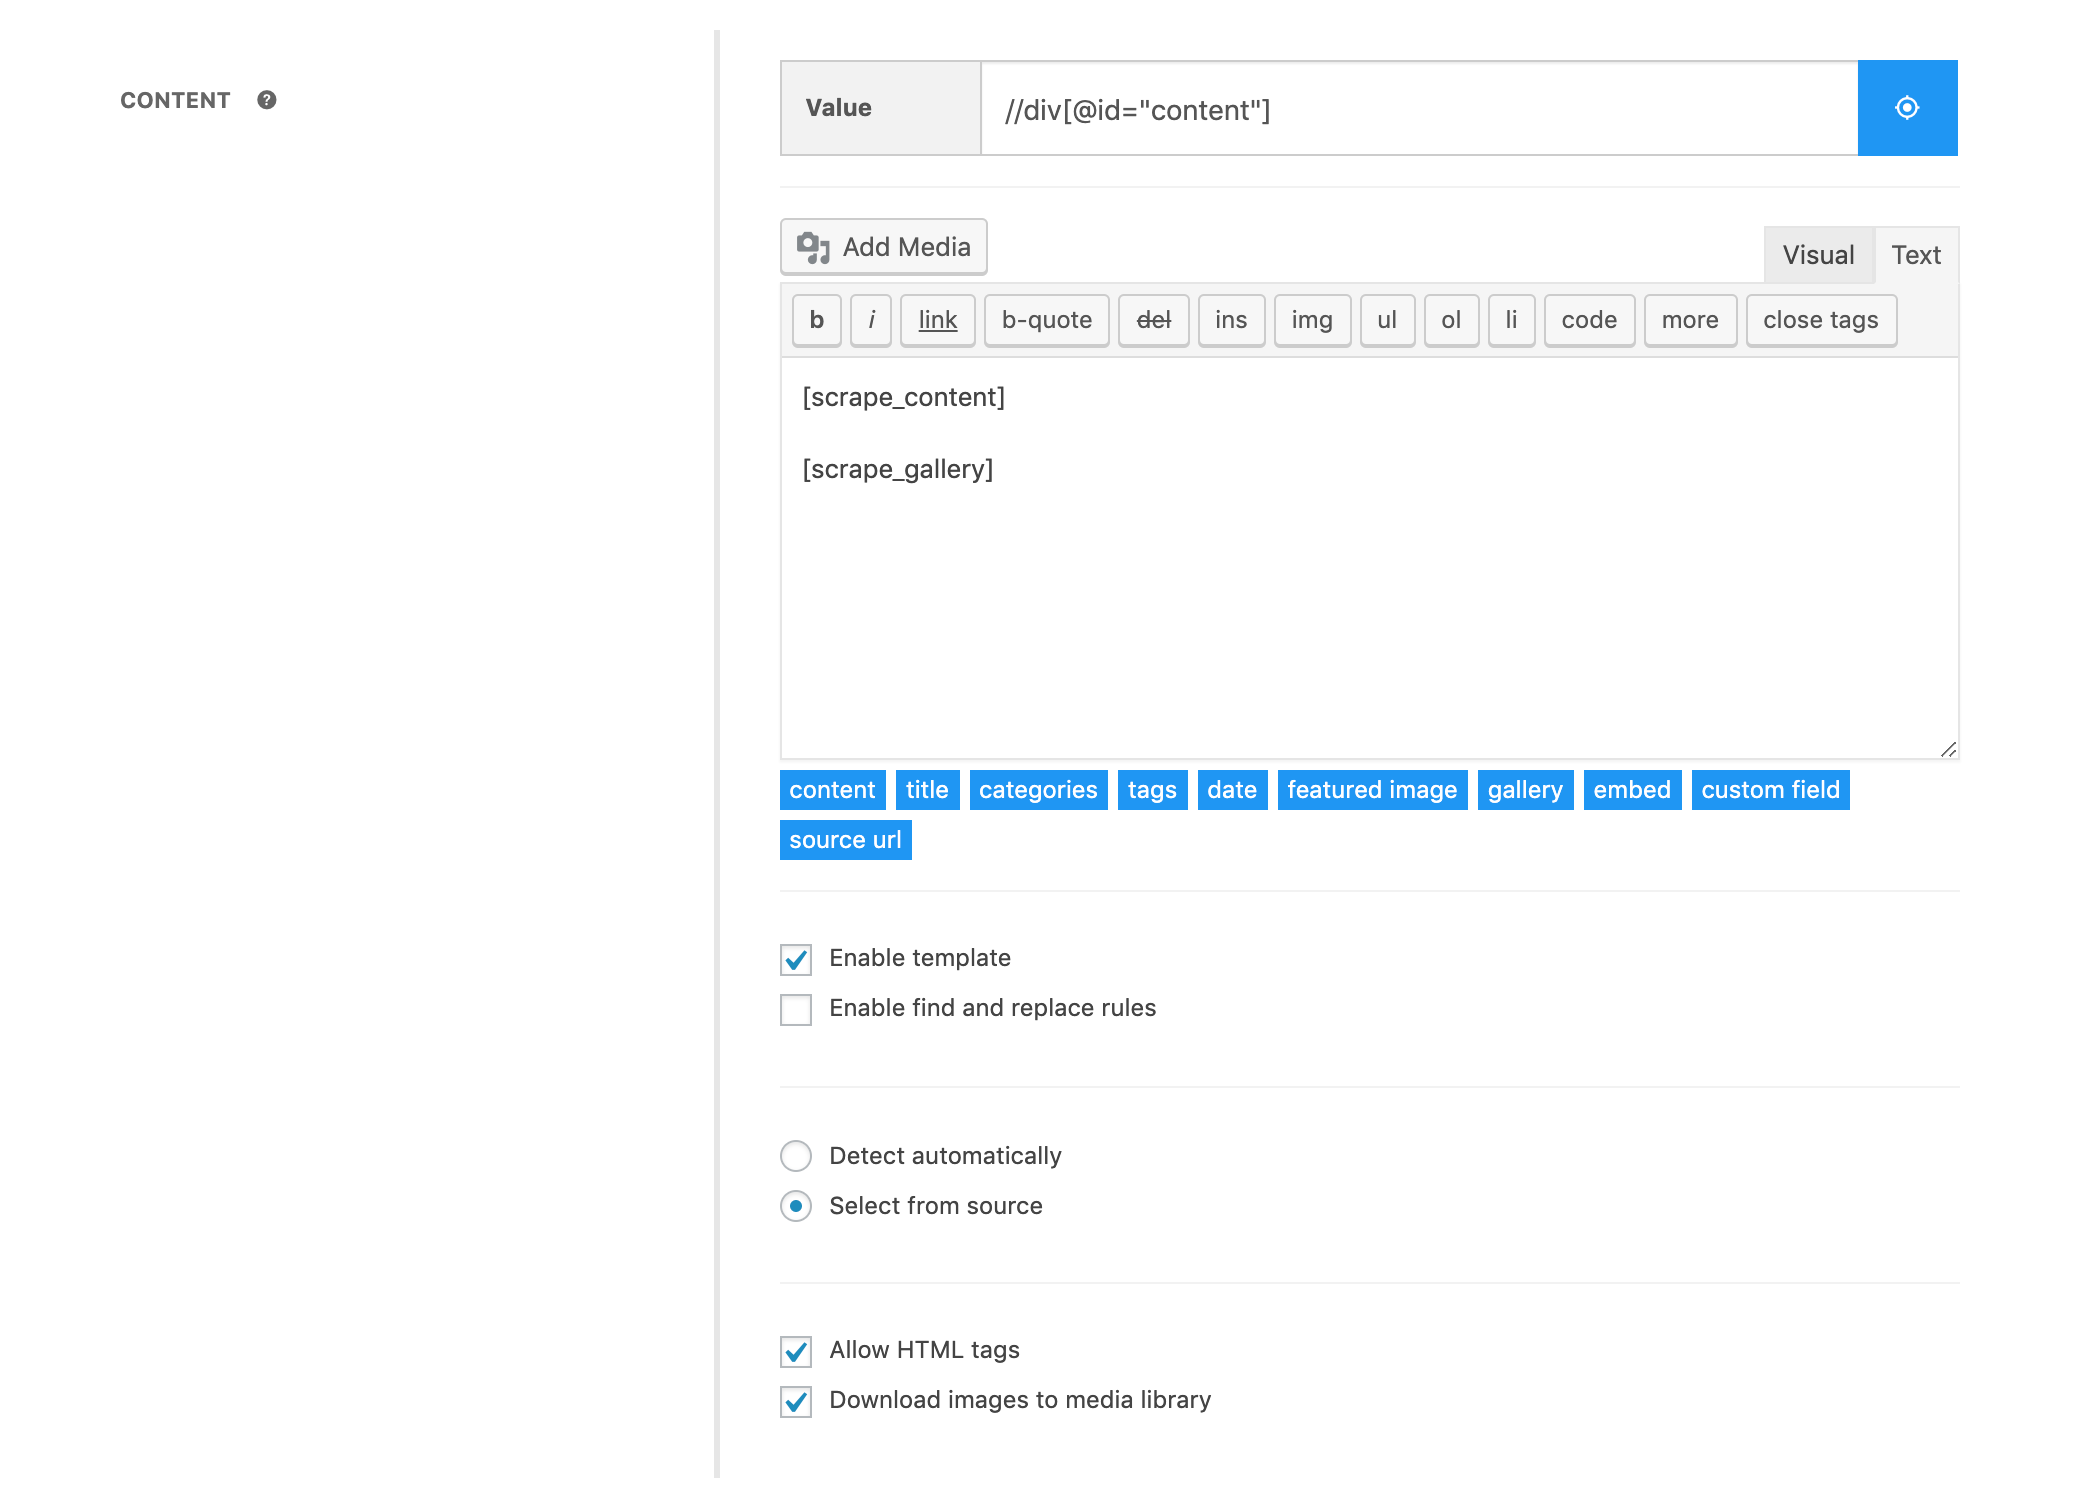
With the template you will define in the content area, you can add images from the source site as a WordPress gallery. The steps you need to follow to do this are as follows.
- Define the section that contains the images on the source site with the visual selector in the content field.
- Activate the “Download images to media library” option below the content field.
- Activate the “Enable template” option below the content field.
-
While the “Text” tab is active in the “Template” field, define the following value.
                [scrape_content]

                [scrape_gallery]
New posts will be created with the content above and the gallery below. Since the gallery consists only of images defined in the content field when the “Download images to media library” option is active; if you want to pull these images from another section on the same page, except the content field, you must define the section that contains the images on the source site with the visual selector as the content field. You do not need to define the template [scrape_content] because this defined field is probably only composed of images and does not contain the text that you want to use as content in this case. You can also include the text-containing section in your content template by defining it in another custom field and using its template tag.
Adding embed code to content
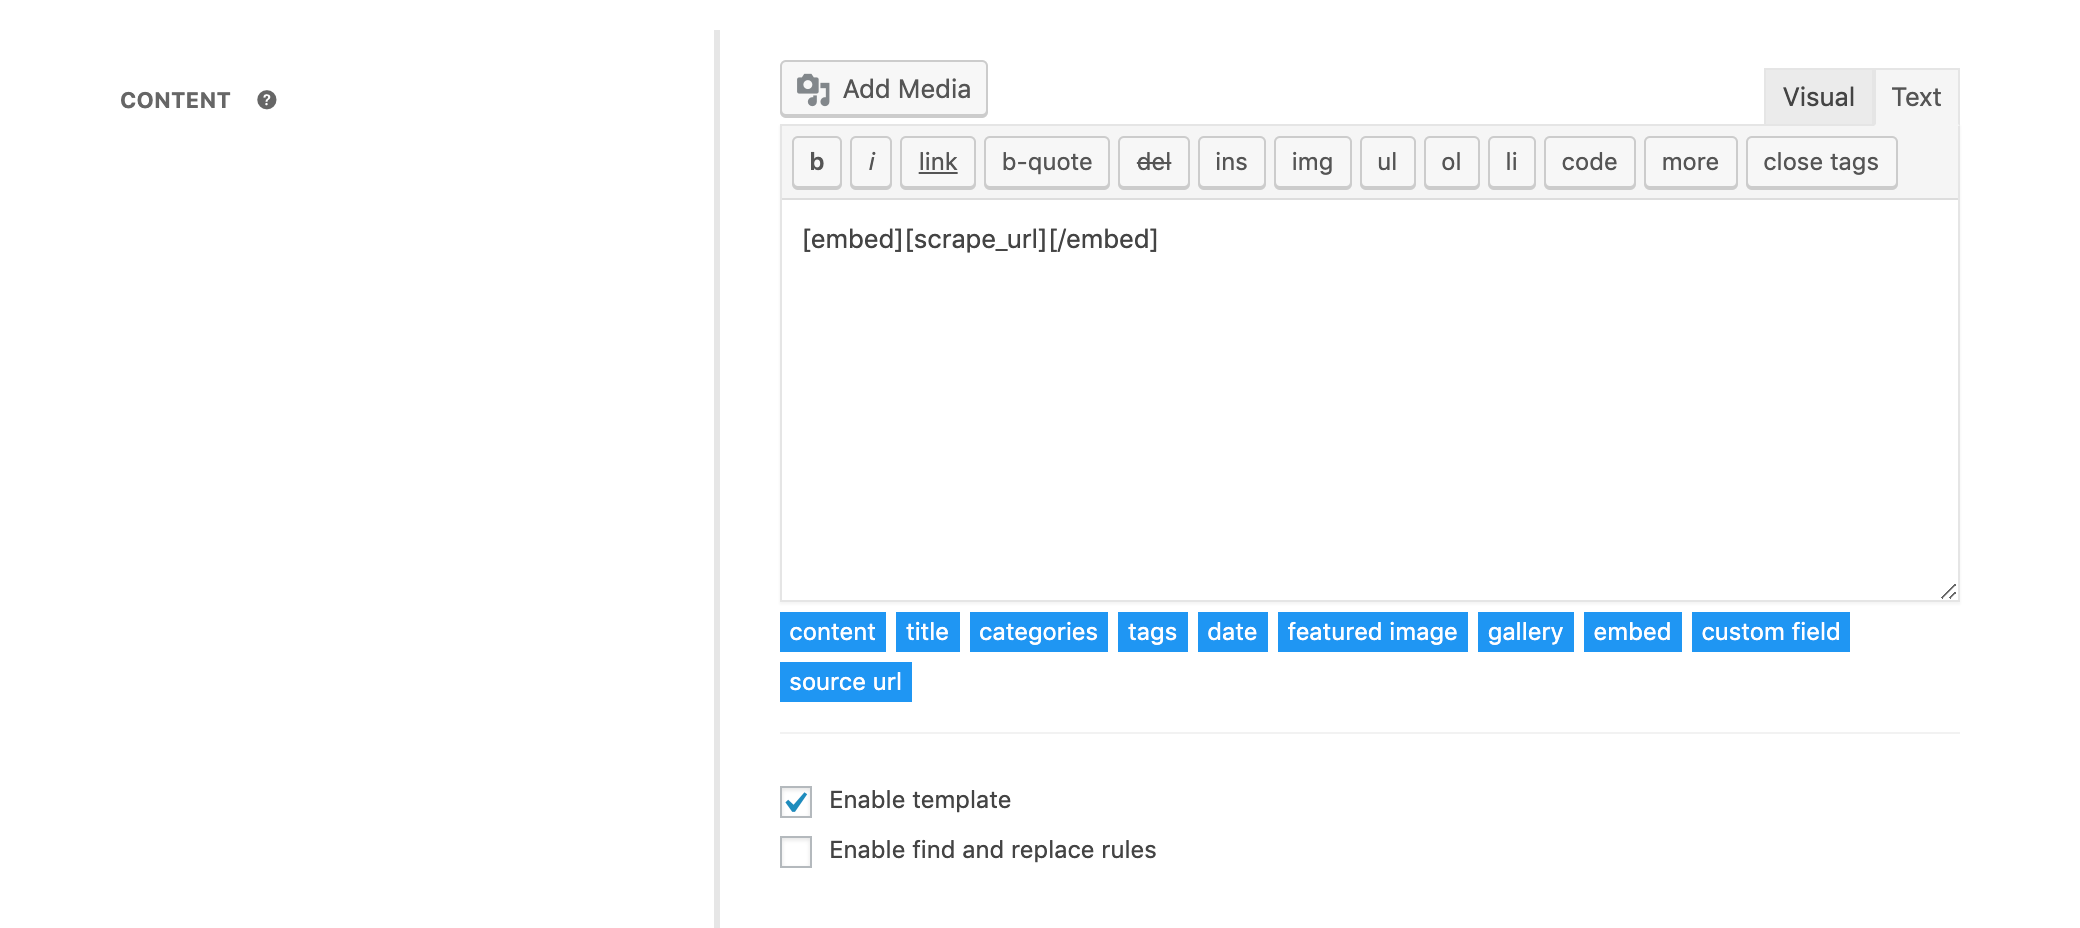
With the template you will define in the content field, you can add the web address of the source site or the web page of the detail page from which the content is scraped translated into an embed code according to the selected task type. The steps you need to follow to do this are as follows.
- Activate the “Enable template” option below the content field.
-
While the “Text” tab is active in the “Template” field that appears, define the following value.
[embed][scrape_url][/embed]
The new posts will consist of the address of the [scrape_url] tag translated into an embed code in accordance with this defined template. The services and usage details that support embedding code are as stated in the corresponding article published by WordPress. If the source site is not in the list of supported services, you can add a manual “iframe” code to the content field and define the [scrape_url] tag in the “src” field.
Adding a remote file to content
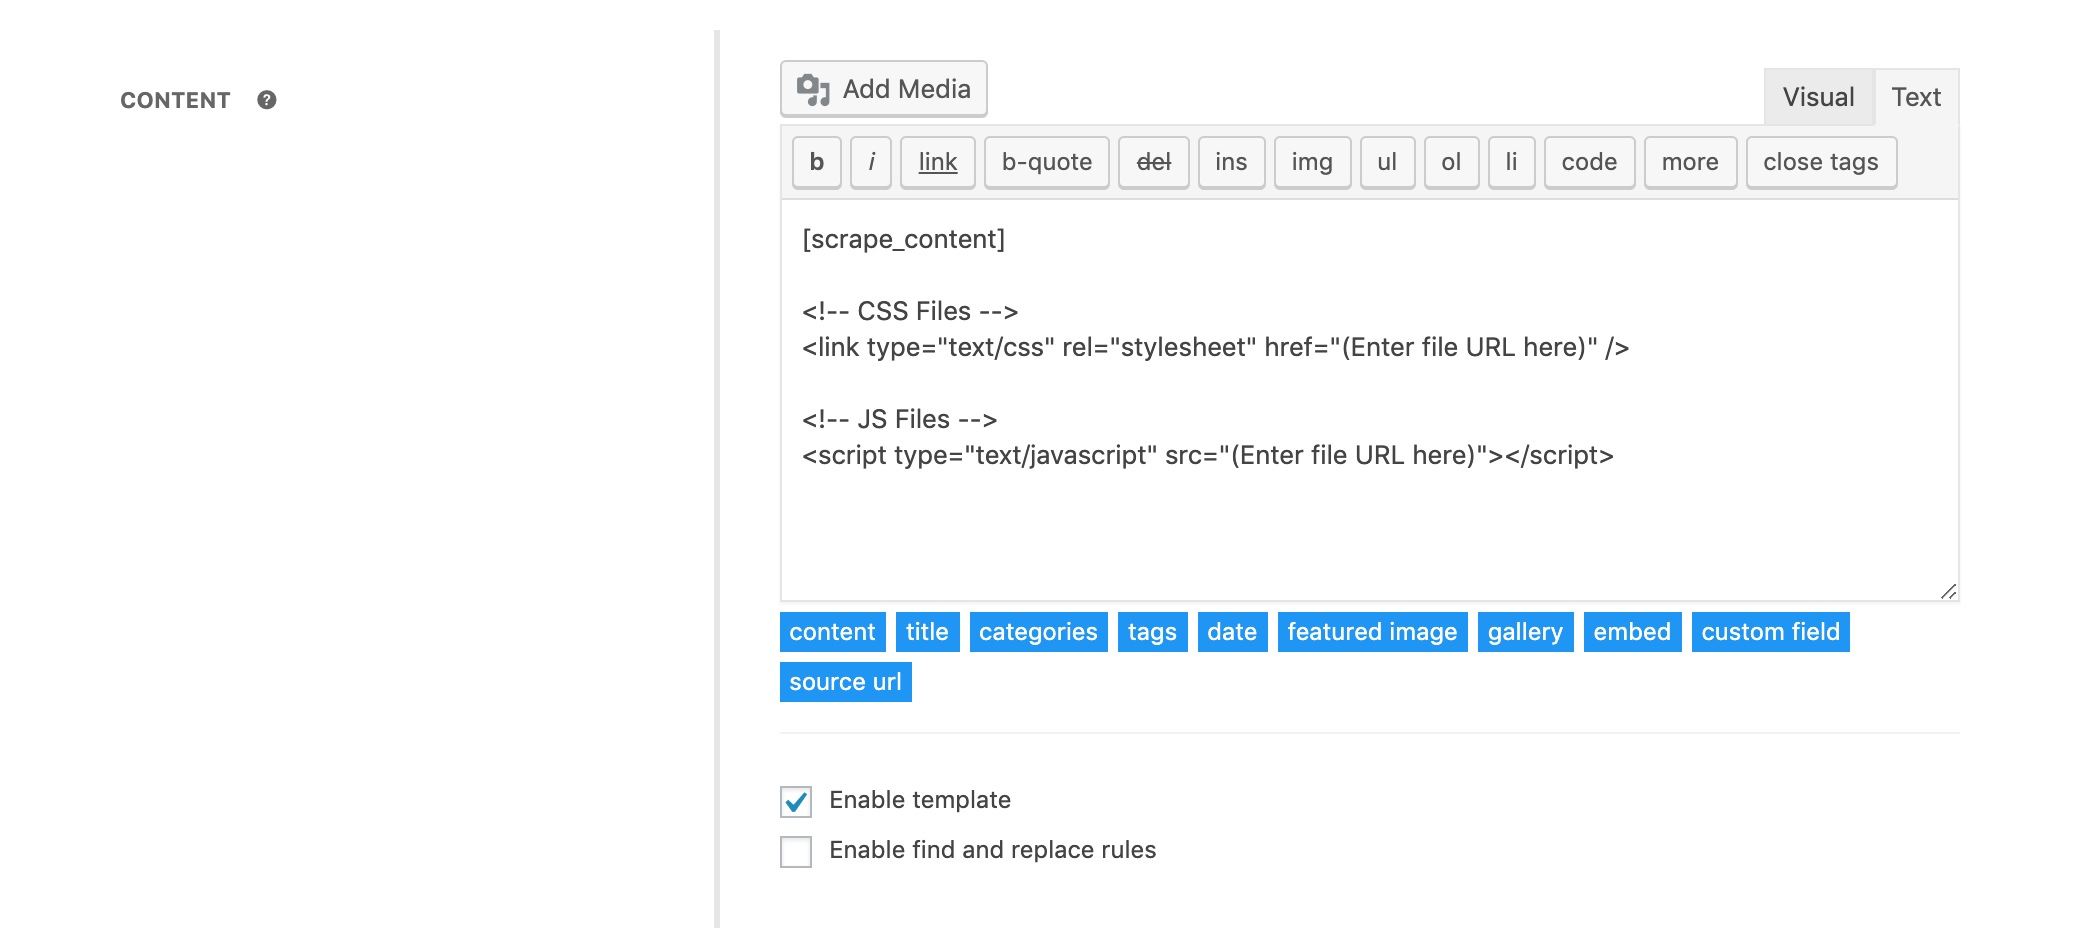
With the template you define in the content area, you can add CSS or JavaScript files directly to the content and ensure that the codes in these files are applied to the content. The steps you need to follow to do this are as follows.
- Activate the “Enable template” option below the content field.
-
While the “Text” tab is active in the “Template” field that appears, define the following value by updating it to suit your needs.
                [scrape_content]

                <!-- CSS Files -->

                <link type="text/css" rel="stylesheet" href="(Enter file URL here)" />

                <!-- JS Files -->

                <script type="text/javascript" src="(Enter file URL here)"></script>
New posts will consist of remote files in accordance with this defined template. You can change the defined file addresses so that they are retrieved from the source site or another address according to your needs.
Defining inline styles to content
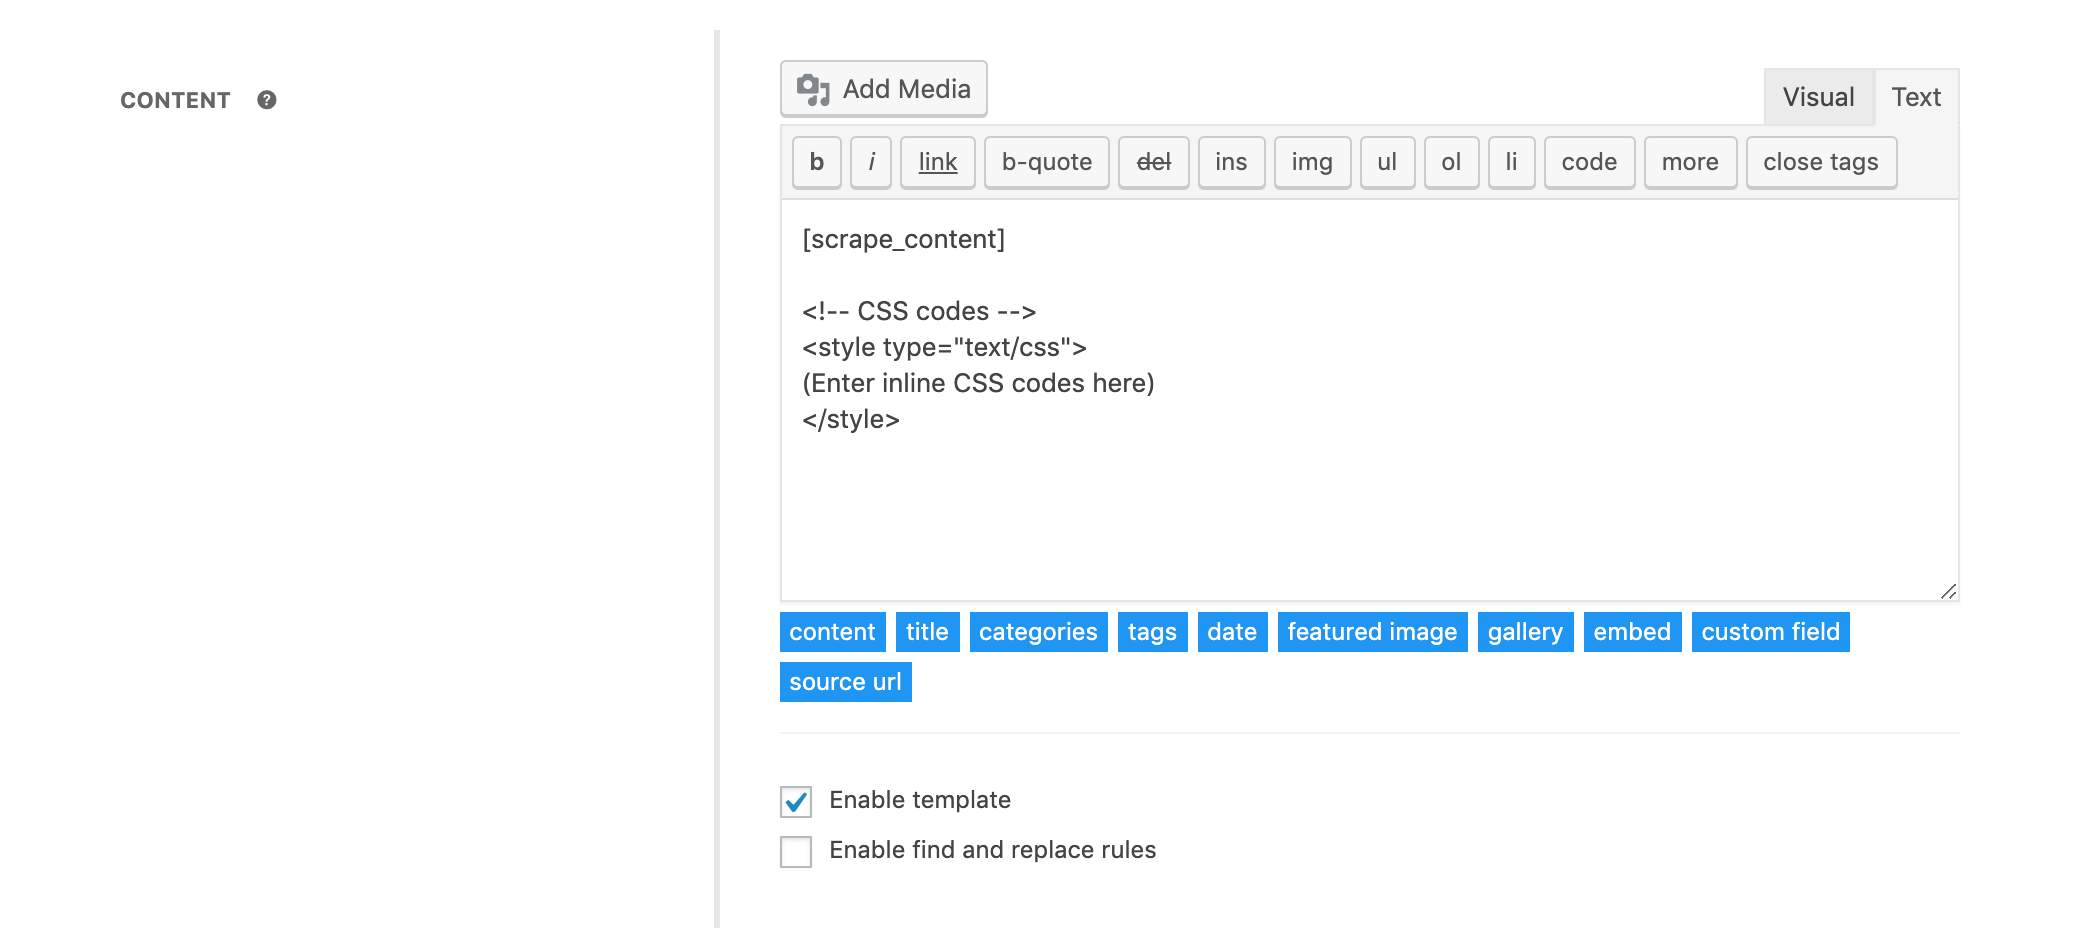
With the template that you define in the content area, you can add CSS codes directly to the content as inline style and make them style changes on the content. The steps you need to follow to do this are as follows.
- Activate the “Enable template” option below the content field.
-
While the “Text” tab is active in the “Template” field that appears, define the following value by updating it to suit your needs.
                [scrape_content]

                <!-- CSS codes -->

                <style type="text/css">

                (Enter inline CSS codes here)

                </style>
New posts will be created to include CSS code in accordance with this defined template. You can get the defined codes from the source site according to your needs, or you can write them manually, which will have an effect on the scraped content.
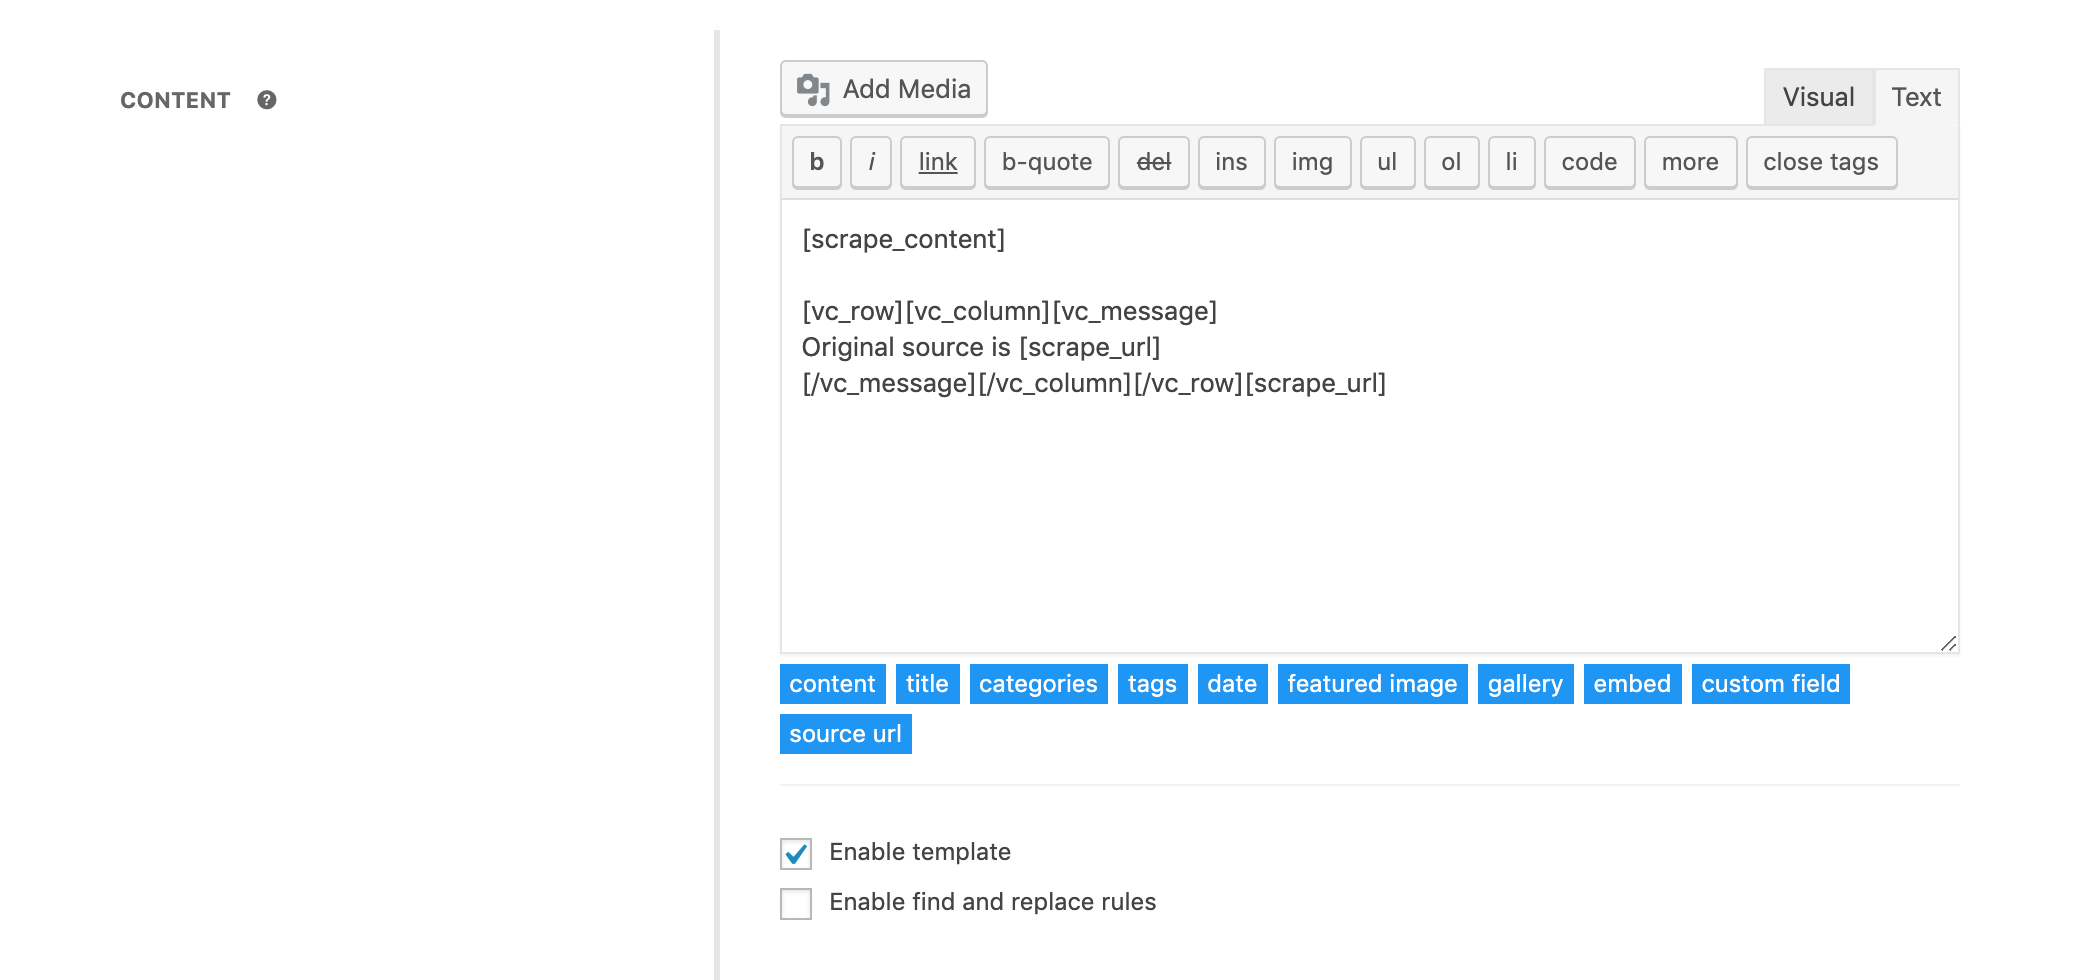
Adding a WPBakery Page Builder shortcode to content
With the template you will define in the content field, you can combine the contents of the source site with the “shortcode” format tags supported by the “WPBakery Page Builder” plugin. The steps you need to follow to do this are as follows.
- Create the page layout you want to use as static by using “Backend Editor”.
- Activate the “Classic Mode” and “Text” tab and copy the codes in this field.
- Activate the “Enable template” option below the content field.
-
While the “Text” tab is active in the “Template” field that appears, update and define the following value, which consists of the codes you have copied, the template tags and plain text, according to your needs.
                [scrape_content]

                [vc_row][vc_column][vc_message]

                Original source: [scrape_url]

                [/vc_message][/vc_column][/vc_row]
The new posts will be created to display in the “Message Box”, a WPBakery Page Builder element, with the content above and the address of the [scrape_url] tag, along with the text “Original source” below in accordance with this defined template. You can do the same for shortcode tags that are supported by other themes and plugins too.

Making mathematical operations in template
You can do mathematical operations on the fixed or variable data that this field contains with the template that you define in the custom fields. The steps you need to follow to do this are as follows.
- Define the section that contains the numeric data in the source site with the visual selector in the custom field.
- Activate the “Enable template” option under the custom field.
-
Define the following value in the appearing “Template” field by updating it to suit your needs.
calc([scrape_value] + 5)
In accordance with this defined template, the new posts will be created with the custom field containing the result of the mathematical operation with the variable data contained in the [scrape_value] tag. With the name definition you will make to the custom fields during the task creation phase, you can make them to be supported by your other themes and plugins or to be used in fields that support template. For example; You can add 5% commission to the prices of the WooCommerce products that will be created with “_price” in name field and calc ([scrape_value] * 1.05) value in the template field.
